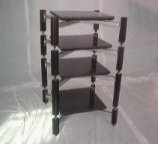
"Modular" series
Modular Series Audio Racks
The Model "AL4GC"
Assemble lower frame rail:
Locate two 19.5 inch long frame rails. Insert platform support bushings by sliding the threaded rod and nut into the slot on the frame rail. Place one bushing at each end of frame rail. Note, only the lower frame rails require bushings.
Attach frame rails to columns:
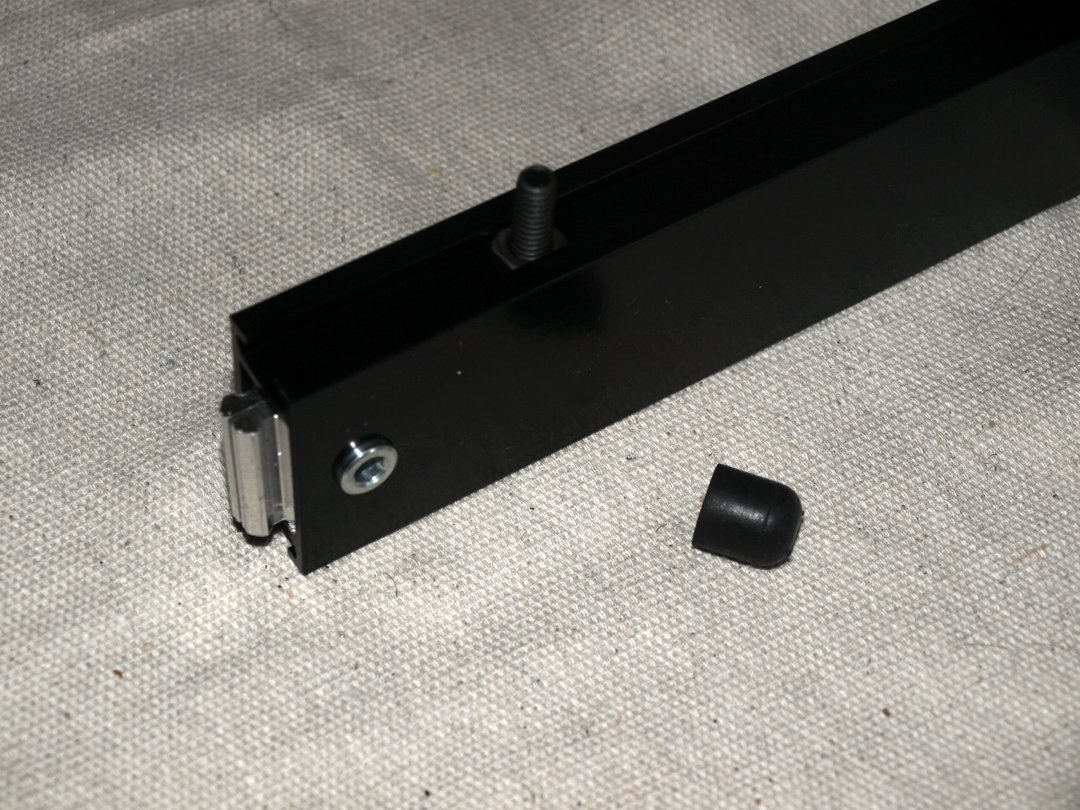
Locate two columns. Identify the bottom end the column which has a threaded insert. Attach the lower frame rail to the column. Tighten the lock assembly using allen wrench. Repeat for upper frame railing, noting that the upper frame rail does not have bushings. Attach second column to frame rail and tighten the lock assemblies. Repeat this procedure for two remaining columns and frame rails.
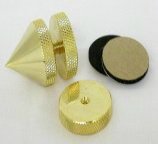
Note: The cones do not need to be added at this time, they are shown to identify this is the end of column with threaded inserts.

Install platform support brackets:
Locate 8 brackets. Loosen the attachment screws slightly. Slide brackets into slot on column as shown. Install two brackets per column. The exact position of the backets will be adjusted in a later step. Only finger tightness is needed for this step.

The completed front of rack frame:
Repeat the previous procedure for the rear rack frame.
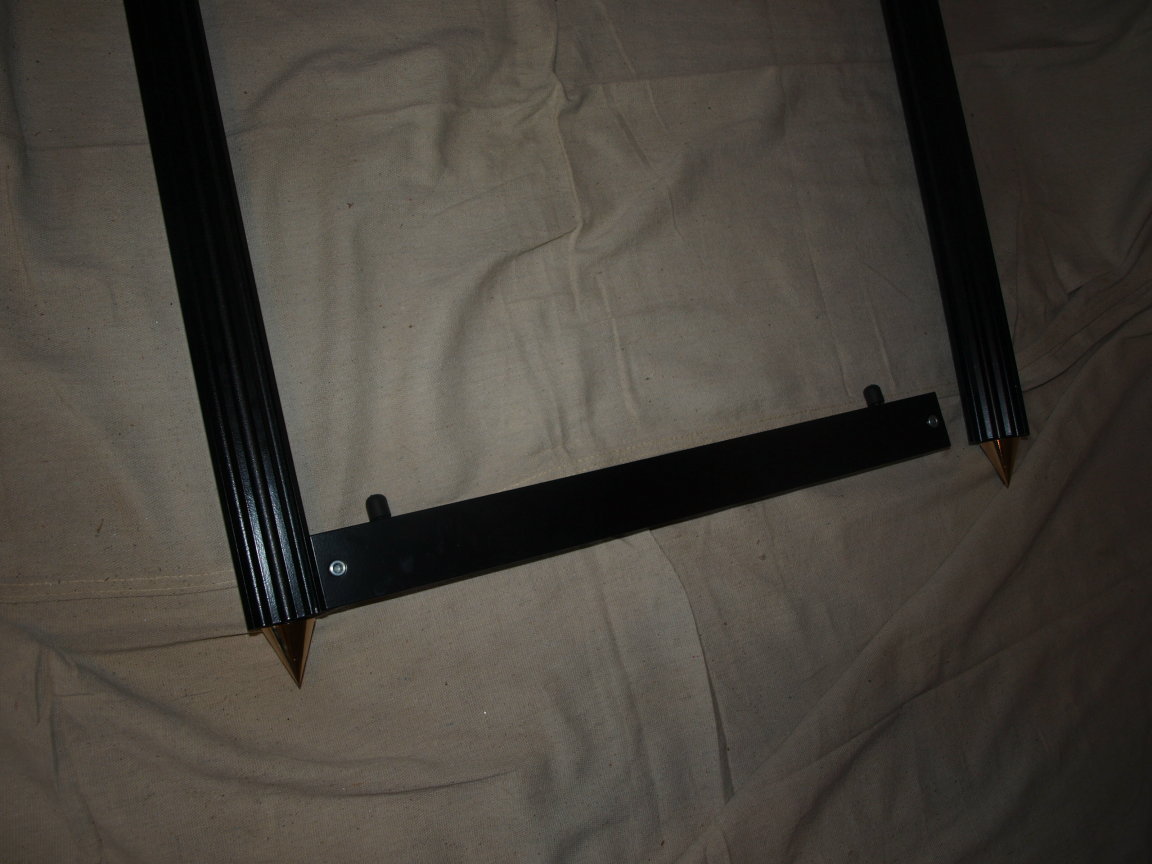
Attach side frame rails:
Locate 4 side frame rails. Attach to the front rack frame as shown. Tighten the connector lock assemblies.
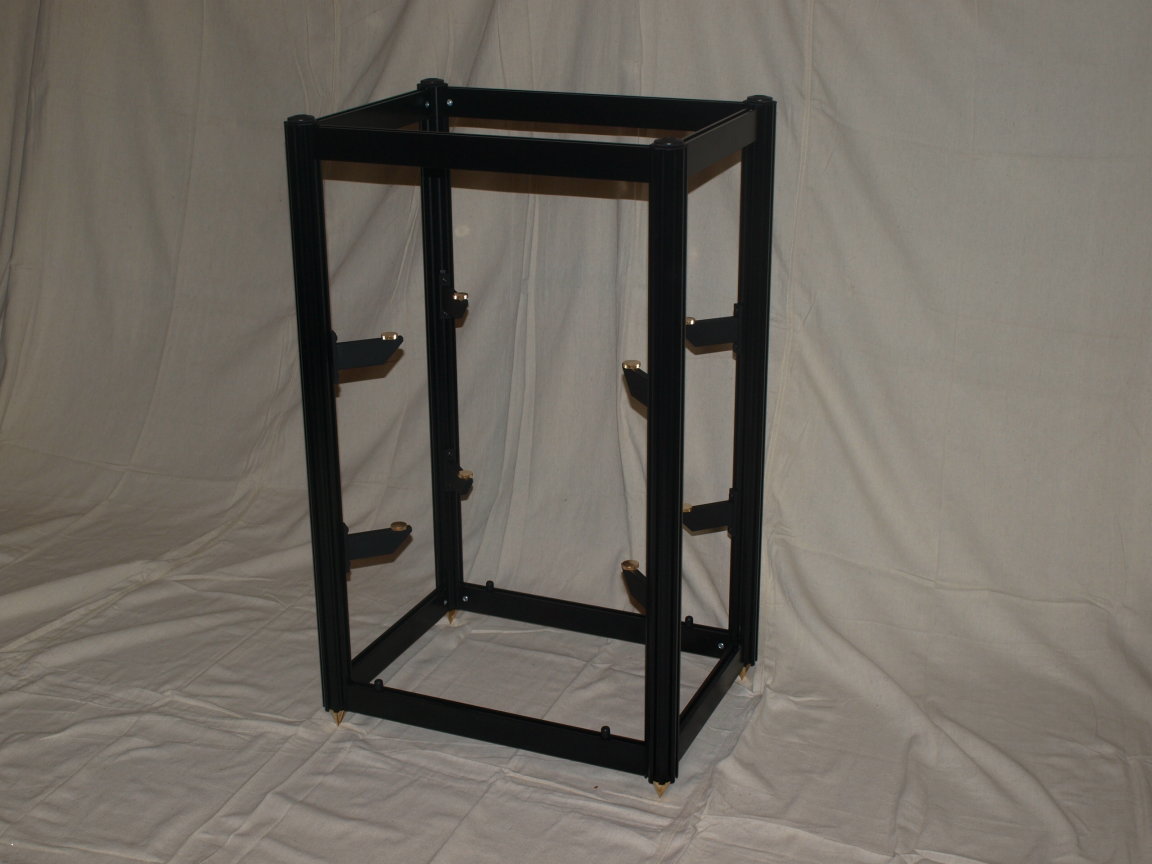
Complete the rack frame:
Attach rear rack frame to side rails. Tighten the connector locks. Stand the frame uppright.

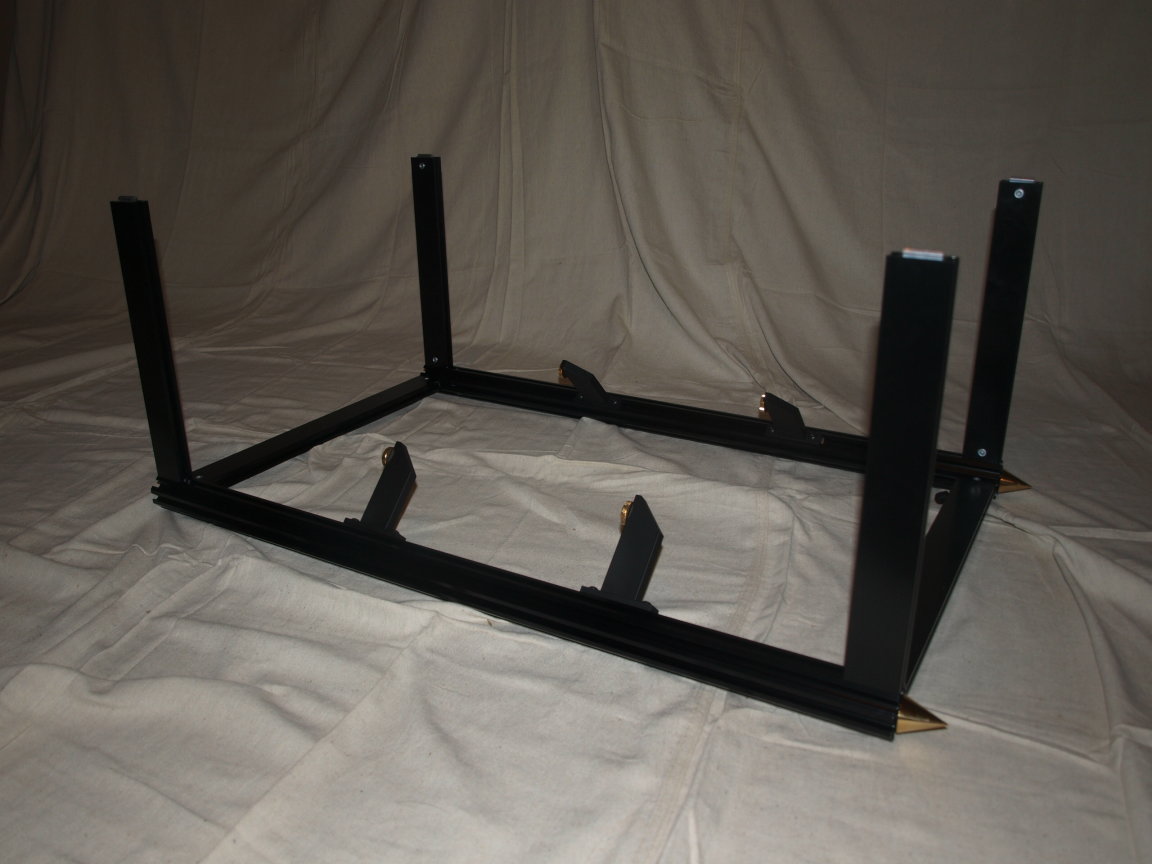
Adjust platform support bracket location:
Using a measuring tape, ajust the spacing of the brackets as needed. Tighten the hardware using allen wrench.
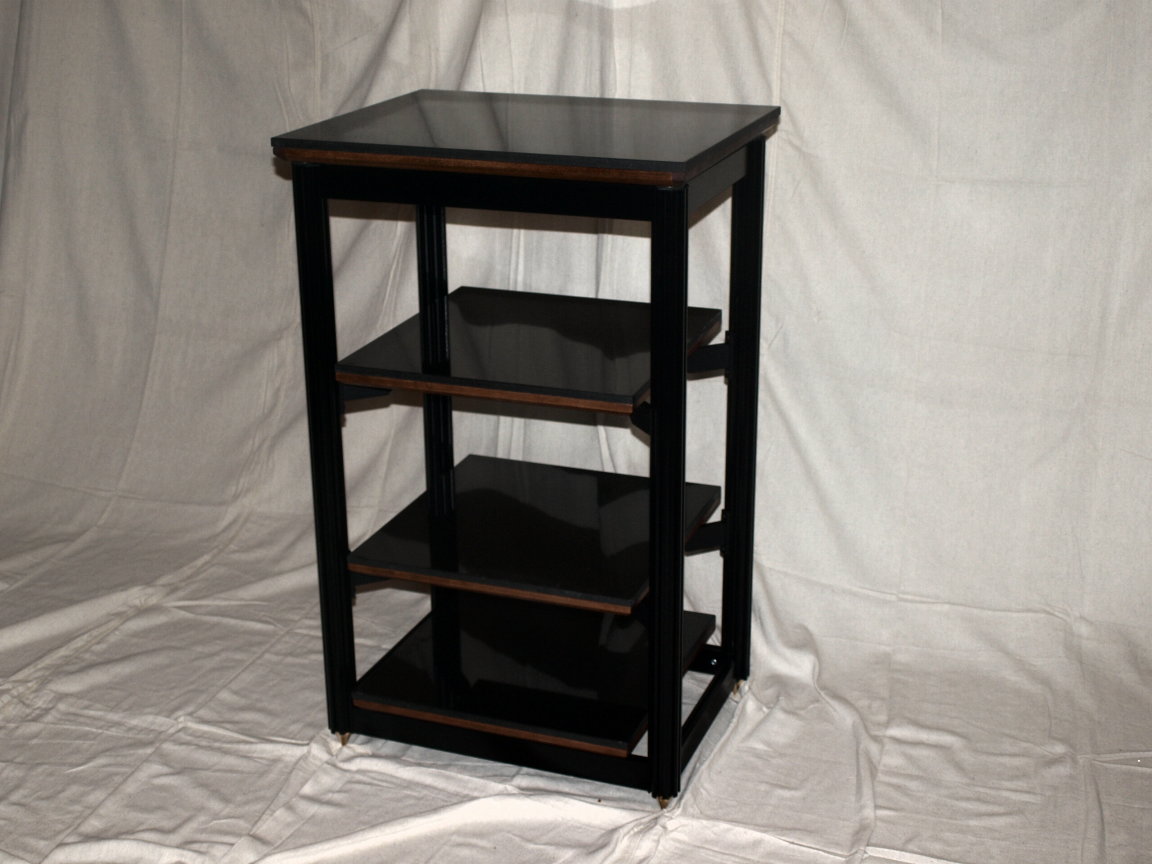
Install the platforms:
Double check to make sure all hardware and locks are properly tightened. Install the brass cone if you have not done so already. Place completed rack frame in final location. Install the platforms. Adjust the bracket levelers as needed.
-
Reference Series

-
Signature Series
-
Modular Series
-
Tweaks and DIY Parts